
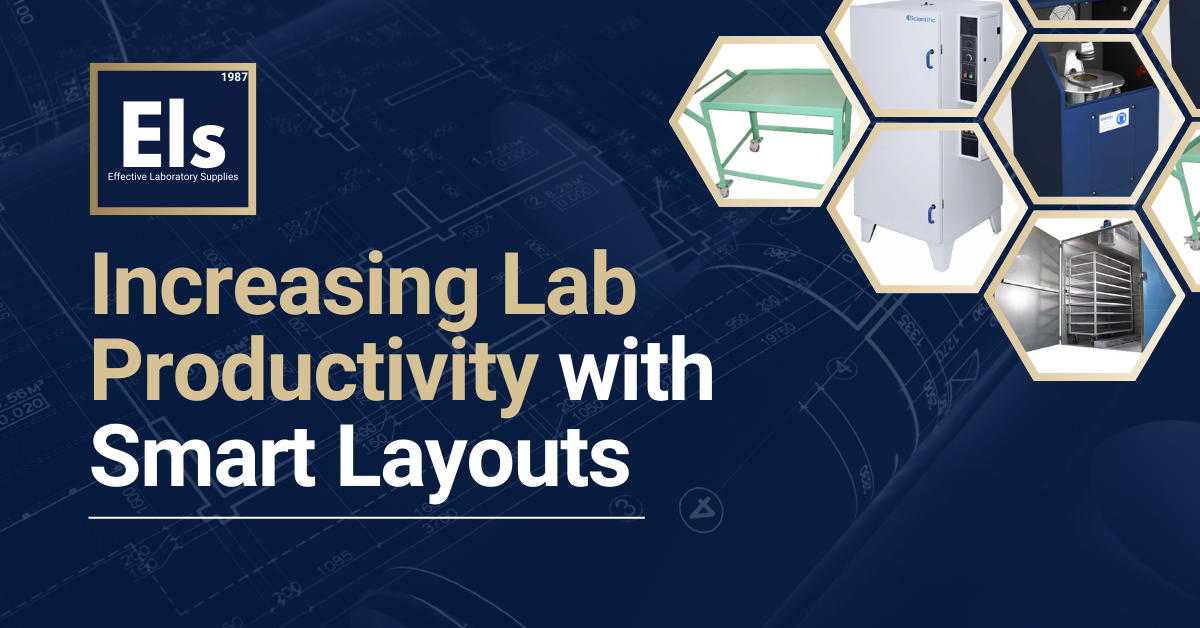
Blog
Increasing Lab Productivity with Smart Layouts
Every minute counts in the high-stakes world of mining analysis. Increasing lab productivity with smart layouts transforms how your laboratory operates at its core to achieve optimal efficiency.
You might be wondering why some labs consistently deliver faster turnaround times, whilst others struggle with bottlenecks. Don’t be too quick to say it’s because of the quality of the equipment. Often, the answer lies in how that equipment is arranged.
Let’s examine the facts: a poorly designed laboratory can sabotage even the most skilled analytical teams.
Samples queuing at critical stations, operators wasting precious time navigating inefficient pathways, contamination risks forcing costly rework are NOT minor inconveniences. These cost your production line millions of Rands.
The Hidden Cost of Poor Laboratory Design
Here’s what you need to know about laboratory bottlenecks. They don’t announce themselves with fanfare; they creep into daily operations until inefficiency becomes the norm.
Drying ovens and pulverisers represent the most common choke points in mineral processing workflows. When these stations become overwhelmed, your entire analytical pipeline stalls.
Poor zoning creates even more serious problems:
- Clean and contaminated areas that overlap force operators to rework samples. This increases both processing time and contamination risk.
- Meanwhile, operators walking excessive distances between stations waste energy and accumulate fatigue.
These factors directly impact both productivity and safety.
The downstream effects ripple through your entire operation. Delayed analytical results mean delayed production decisions. In an industry where timing determines profitability, this represents a critical vulnerability.
Recognising the Warning Signs
Understanding how poor laboratory layout undermines productivity enables you to identify which areas require improvement.
Watch for these telltale indicators:
- Samples accumulating at drying stations or pulverising equipment.
- Staff members waiting for workspace availability.
- Operators traversing long distances between analytical stations.
- Clean and contaminated zones lacking proper separation.
- Cramped working conditions that compromise safety protocols.
These symptoms point to fundamental design flaws that smart layout principles can address.
Equipment Solutions That Transform Workflow
Strategic equipment placement combined with mobility solutions delivers dramatic productivity improvements.
- Sample trolleys and oven trolleys eliminate manual handling bottlenecks whilst reducing contamination risks. These tools allow seamless batch movement between preparation areas and processing stations.
- Mobile benches provide the flexibility that fixed installations cannot match. They up valuable space and allow the technicians to access the machine from various angels—drastically minimising downtime for maintenance and troubleshooting.
- By having the right flotation equipment, labs can run multiple tests more efficiently, shorten turnaround times, and reduce bottlenecks.
- In fire assay workflows, accessories such as slag mould trolleys and crucible trolleys improve safety and efficiency by simplifying the movement of heavy, high-temperature materials. These tools minimise manual handling, protect operators, and help keep furnace areas organised, directly supporting faster turnaround in busy assay labs.
The ELS Philosophy: Sample Flow First
At Effective Laboratory Supplies, we design laboratories around one fundamental principle: sample flow determines everything else. Layout forms the foundation for both laboratory productivity and operator safety.
Successful laboratory design follows these core elements:
Directional flow patterns ensure samples move logically through the analytical sequence—from crushing through drying to pulverising and final analysis. Samples should never loop back or cross paths with incoming material.
Bottleneck reduction requires aligning equipment in operational order. This approach smooths sample movement and prevents queue formation at critical stations.
Strategic zoning separates incompatible processes. Hot work areas, wet chemistry stations, dust-heavy operations, and clean zones require physical separation to prevent contamination and eliminate safety hazards.
Operator welfare considerations recognise that centralised rest areas and break facilities contribute directly to laboratory efficiency. Well-rested operators make fewer errors and work more efficiently.
Ventilation and extraction systems represent another critical component. Poor airflow threatens operator health, slows analytical processes and can compromise result accuracy.
The Productivity Transformation
Smart laboratory layouts deliver measurable benefits that extend far beyond simple efficiency gains:
- Faster sample turnaround without additional staffing costs.
- Reduced contamination risk and analytical rework.
- Enhanced operator safety and working conditions.
- Scalable infrastructure that grows with production demands.
A well-planned laboratory layout can increase productivity for the vast majority of operations, often without the need for expensive rebuilds.
Industry research shows that optimising flow, zoning, and operator movement is one of the most effective ways to increase mining lab efficiency and profitability.
From Bottlenecks to Breakthroughs: Your Next Strategic Move
Imagine the output potential you can reach when your lab works as hard as your analytical team!
We’re not just talking about operational improvements. Smart layouts embody a strategic approach to analytical excellence.
With intentional planning and the right equipment solutions, your laboratory can transform from a production bottleneck into a competitive advantage.
Transform productivity, protect your team, and speed up results with strategic design.